Introduction
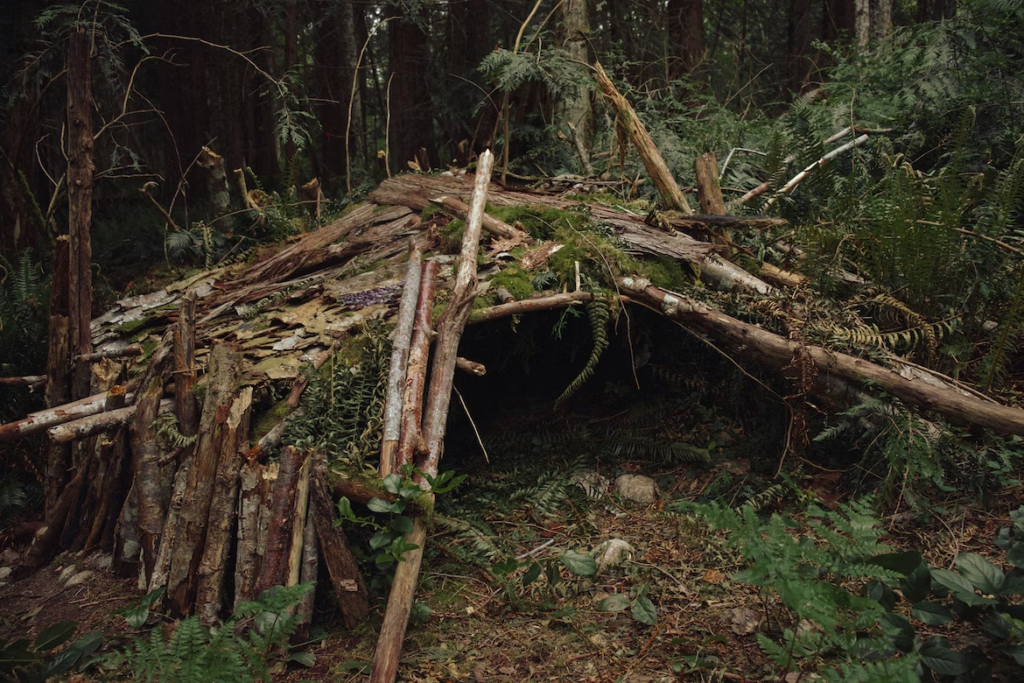
Building an emergency outdoor shelter is a vital skill for anyone venturing into the wild. In extreme conditions, a shelter can be a lifesaver. This manual provides comprehensive instructions on how to build an emergency outdoor shelter using readily available natural materials. The process can be adapted based on the specific environment and conditions.
Table of Contents
1. Assessing the Situation
2. Choosing the Shelter Type
3. Selecting the Location
4. Gathering Materials
5. Building the Shelter
6. Insulating the Shelter
7. Safety Considerations
8. Conclusion
1. Assessing the Situation
Before you begin constructing the shelter, take a moment to assess your situation. Consider factors like weather conditions, available daylight, and proximity to water sources.
2. Choosing the Shelter Type
Depending on the environment and materials at hand, there are several types of shelters you can build:
1. Lean-to Shelter
2. A-Frame Shelter
3. Snow Shelter
4. Tarp Shelter
3. Selecting the Location
The location is crucial. Choose a site that:
– Is on solid ground.
– Is near a water source but not in a flood zone.
– Is protected from wind and falling branches.
– Has good drainage.
4. Gathering Materials
Collect materials such as:
– Sturdy branches
– Smaller branches or twigs
– Leaves, moss, or grass for insulation
– Rocks for support
– A tarp or rain poncho if available
5. Building the Shelter
5.1 Lean-to Shelter
1. Find a large branch to act as the ridgepole.
2. Secure one end of the ridgepole to a tree or rock.
3. Angle the ridgepole so the other end rests on the ground.
4. Place smaller branches diagonally along the ridgepole.
5. Fill in with leaves, moss, or grass.
5.2 A-Frame Shelter
1. Construct a ridgepole as with the lean-to.
2. Add cross branches to form an “A” shape.
3. Fill in the sides with smaller branches, leaves, moss, or grass.
5.3 Snow Shelter
1. Pile snow into a mound.
2. Allow it to harden slightly.
3. Hollow out the mound to form a shelter.
4. Use sticks for ventilation.
5.4 Tarp Shelter
1. Tie a tarp or rain poncho between two trees.
2. Anchor the corners with rocks or stakes.
3. Add extra branches or leaves if needed for insulation.
6. Insulating the Shelter
Use leaves, moss, or grass to insulate the floor. If possible, create a barrier to trap warmth.
7. Safety Considerations
– Always check for falling branches or other hazards.
– Ensure proper ventilation to avoid suffocation.
– Don’t use wet materials, as they can lead to hypothermia.
8. Conclusion
Building an emergency shelter is an essential skill for outdoor survival. The key is to assess your situation, choose the appropriate type of shelter, select a safe location, and gather the right materials. Always remember to prioritize safety and be mindful of your environment.
By following the instructions in this manual, you can create a safe and warm shelter that may save your life in an emergency situation. Keep practicing these techniques to hone your skills and be better prepared for any unforeseen circumstances in the wilderness.


