Photo by Kampus Production
By Ryker Stone
Springtime is the perfect season to embark on a suburban survival gardening journey. As winter’s frost recedes and new life emerges, it’s an ideal time to transform your suburban backyard or even a small side yard into a productive source of fresh food and resilience. Whether you’re hoping to feed your family with homegrown produce, supplement your grocery bill, or simply become more self-reliant, starting a survival garden in the suburbs is both rewarding and practical. In this in-depth guide, you’ll find step-by-step strategies, real-life examples, and expert tips tailored to help you succeed with a suburban survival garden this spring.
Step 1: Choose the Right Location in Your Suburban Yard
The success of your suburban survival garden largely depends on its location. Select an area of your yard that receives ample sunlight—ideally 6 to 8 hours a day—and has good drainage. For example, tomatoes and peppers require full sun, while leafy greens like lettuce can tolerate some shade. Avoid spots near large trees or too close to fences, as these may block sunlight. If you’re limited on space, don’t fret! Container gardening or vertical gardening is an excellent alternative that can thrive on decks, patios, or even driveways. Cherry tomatoes grow well in pots, and herbs like basil or mint can flourish on a sunny porch or windowsill. Attach trellises to fences or walls to maximize vertical space for crops like peas, cucumbers, or strawberries.
Step 2: Prepare the Soil
Healthy soil is the foundation of a thriving garden. Before planting, enrich your soil with organic matter, such as compost or aged manure—homemade compost from kitchen scraps and leaves is ideal for boosting nutrients. This will provide essential nutrients and improve soil structure, promoting better root growth and water retention. Real-world tip: Add a layer of mulch or straw after planting to reduce weeds and retain moisture. Consider conducting a soil test (kits are available at garden centers) to assess pH and nutrient levels; most vegetables prefer a pH between 6.0 and 7.0. If your soil is clay-heavy, mix in sand and compost to improve drainage. Don’t forget to loosen compacted soil and remove rocks, weeds, and debris. If your soil is poor or contaminated (common in urban areas), build raised beds or use containers with high-quality potting mix. For those interested in sustainability, start a compost pile or use a compost tumbler to recycle kitchen and yard waste into nutrient-rich amendment. Many gardeners use worm bins (vermicomposting) for efficient indoor composting.
Step 3: Choose Your Plants Wisely
When selecting plants for your garden, consider factors such as climate, soil type, and available space. Use your local Cooperative Extension or nursery as a resource for region-appropriate varieties. Opt for varieties that are well-suited to your region and gardening experience level. For example, ‘Early Girl’ tomatoes are great for short growing seasons, and bush beans are hardy for beginners. Beginners may find success with low-maintenance options like tomatoes, lettuce, or herbs—basil, parsley, and chives are easy and productive. Remember to consider the mature size of plants to ensure they have ample room to grow without overcrowding (zucchini and pumpkins can sprawl several feet!). Mix annuals and perennials; for continuous color, try marigolds (annual) with coneflowers or black-eyed Susans (perennials). Research companion planting: plant basil next to tomatoes to repel pests, or carrots with onions to deter carrot flies. If you’re interested in supporting pollinators, include native flowers such as milkweed (for monarchs), bee balm, and lavender to attract bees and butterflies.
Step 4: Start from Seeds or Seedlings
Decide whether you want to start your garden from seeds or seedlings. Starting from seeds offers a wider variety of plant options (such as heirloom tomatoes or unique peppers) and can be a rewarding experience as you witness the entire growth process. However, it requires more time and attention to ensure proper germination and seedling care. Example: Start tomatoes, peppers, and eggplants indoors 6-8 weeks before your last frost date. Alternatively, purchasing seedlings from a nursery provides a head start and can be less daunting for beginners—herbs like rosemary or thyme are often easier to buy as seedlings. If starting seeds indoors, invest in grow lights or use a sunny windowsill, and follow a planting calendar for your region (available online or in gardening apps). Use recycled containers (such as yogurt cups with drainage holes) for seed starting. Label your seedlings to avoid mix-ups and gradually acclimate them to outdoor conditions through a process called hardening off—set trays outdoors for a few hours each day, increasing time over a week.
Step 5: Plant with Care
When planting, follow spacing guidelines provided on seed packets or plant tags to prevent overcrowding. For instance, give tomatoes at least 2 feet between plants, and thin carrots to 2 inches apart once they sprout. Dig holes slightly larger than the root ball and gently loosen roots before planting. Water newly planted seedlings thoroughly to help them establish roots and reduce transplant shock. Mulching around plants with straw, shredded leaves, or grass clippings helps retain moisture, suppress weeds, and regulate soil temperature. For best results, plant early in the morning or late in the afternoon to minimize heat stress. If you’re in a cooler climate, use row covers or even old sheets to protect young plants from late frosts. For pest protection, lightweight floating row covers work well for crops like cabbage and broccoli.
Step 6: Implement a Watering Routine
Consistent watering is crucial for plant health, especially during the early stages of growth. Monitor soil moisture levels regularly and water deeply when the top inch of soil feels dry to the touch. For example, lettuce and leafy greens need more frequent watering, while Mediterranean herbs like rosemary and sage prefer to dry out between waterings. Avoid overhead watering (such as sprinklers), which can promote fungal diseases, and opt for watering at the base of plants instead. Consider investing in a drip irrigation system or soaker hoses to improve water distribution efficiency—these systems can be set up with a timer for convenience. Use mulch to reduce evaporation, keep roots cool, and reduce watering frequency. Group plants with similar water needs together (for instance, plant thirsty crops like cucumbers and squash together, and drought-tolerant plants like lavender and thyme in another bed) to make watering more efficient.
Step 7: Practice Regular Maintenance
Maintaining a garden requires ongoing care and attention. Inspect plants regularly for pests (like aphids, slugs, or cabbage worms) and diseases (such as powdery mildew on squash). For aphids, spray plants with a jet of water or introduce ladybugs. Use organic remedies like neem oil or insecticidal soap. Regularly remove weeds—mulch helps, but hand-pulling or hoeing is often needed. Deadhead spent flowers (such as petunias or zinnias) to encourage continuous blooming and prune plants (like tomatoes or roses) as needed to maintain shape and promote air circulation. Keep a garden journal: jot down planting dates, varieties, problems encountered, and weather notes. This will help you improve your garden each year. If you have extra produce, consider sharing with neighbors or local food banks.
Step 8: Embrace Learning and Adaptation
Gardening is a journey of continuous learning and adaptation. Don’t be discouraged by setbacks or failures—tomato blight, for example, is common and can be mitigated by rotating crops each year. Take note of what works well in your garden and what doesn’t, and adjust your approach accordingly. Joining a local gardening club or seeking advice from experienced gardeners can provide valuable insights and support along the way—many communities offer free workshops or seed swaps. Explore online resources (such as the Old Farmer’s Almanac or local extension websites), books, and gardening apps for troubleshooting and inspiration. Remember, every garden is unique—enjoy experimenting and making it your own. Try growing something new each year, like purple carrots, rainbow chard, or edible flowers such as nasturtiums.
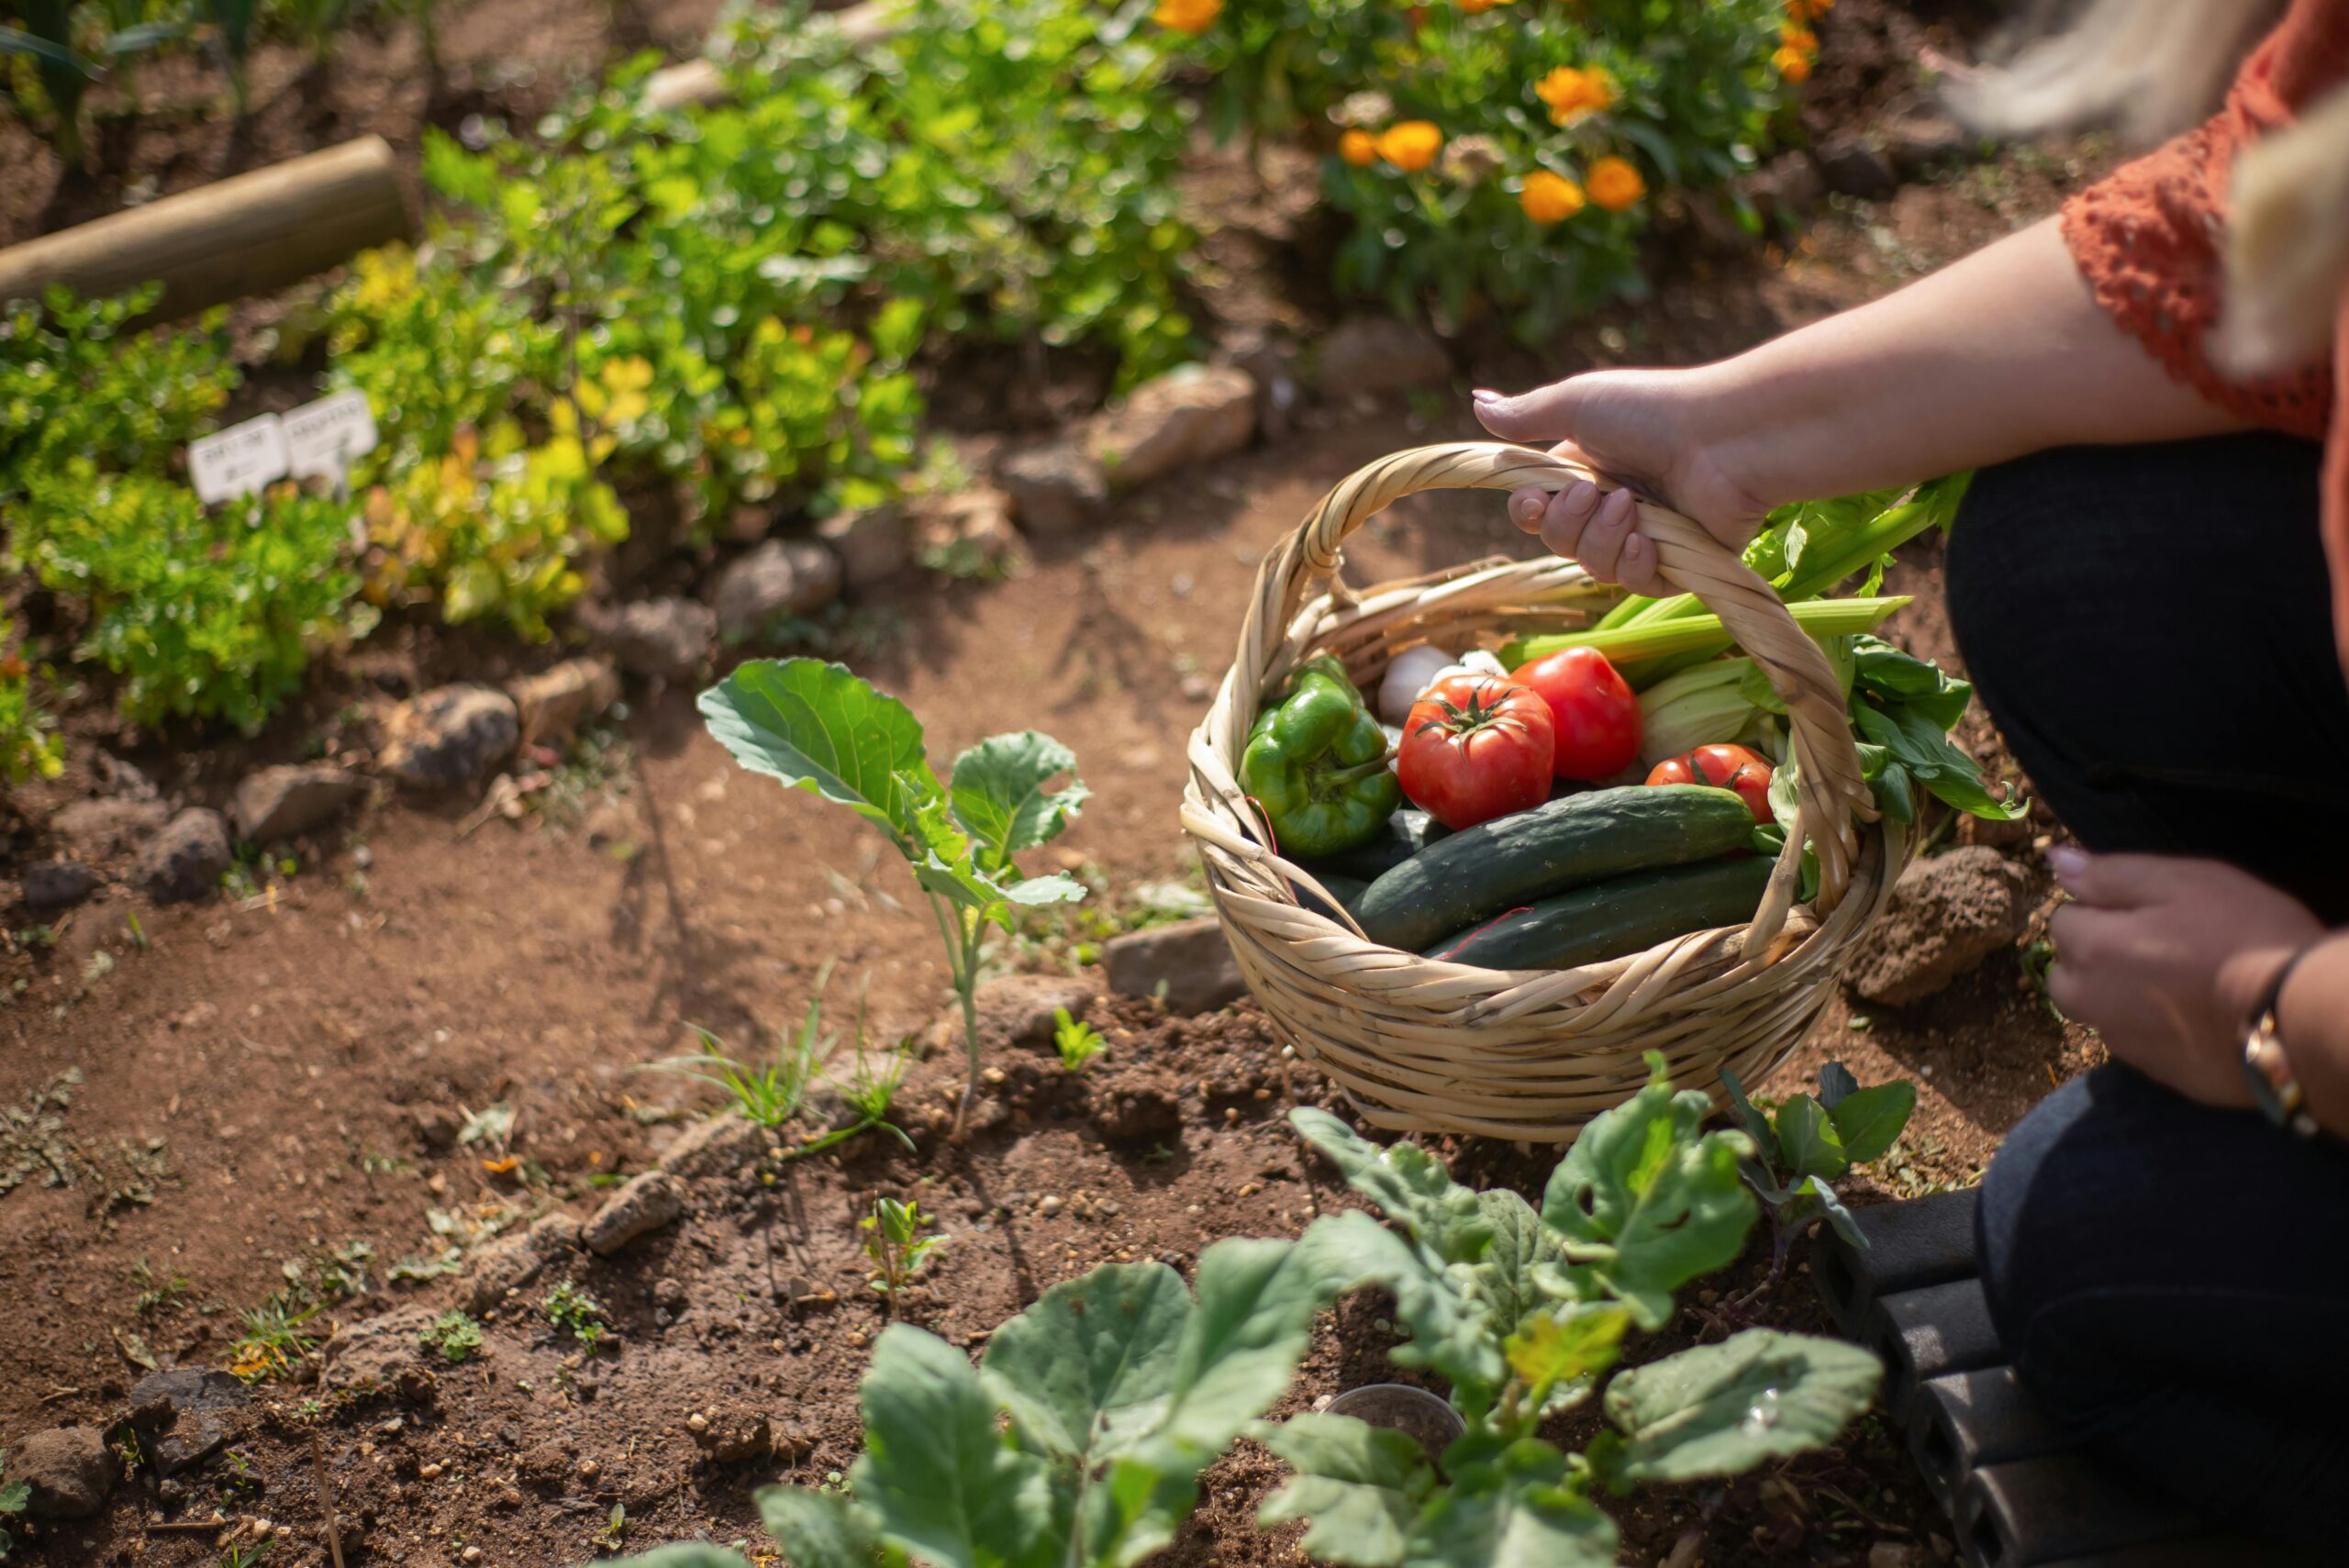
Step 9: Enjoy the Fruits of Your Labor
As your garden flourishes and blooms, take the time to savor the beauty and abundance it provides. Harvest fresh produce straight from the vine, delight in the vibrant colors of blooming flowers, and bask in the tranquility of your outdoor sanctuary. Share your garden’s bounty with friends and family, or consider donating surplus produce to local food banks or community organizations.
Step 10: Keep the Momentum Going
As the gardening season progresses, continue to nurture your garden with care and attention. Stay proactive in addressing challenges as they arise and remain open to experimenting with new techniques or plant varieties. With each passing season, your gardening skills will grow, and your connection to the natural world will deepen, creating a legacy of beauty and abundance for years to come.
In conclusion, starting a garden this spring is a fulfilling endeavor that offers numerous benefits for both the body and soul. By following these essential steps, incorporating expert tips, and embracing the joys and challenges of gardening, you’ll embark on a journey of growth, discovery, and connection with the natural world. With thoughtful planning, ongoing care, and a spirit of curiosity, your garden can become a thriving sanctuary tailored to your needs. So roll up your sleeves, dig in the dirt, and let the magic of gardening unfold before your eyes. Check out the step-by-step guide below to get started with your own survival garden with the space you have, and Happy gardening! 🌱🌸
Survival Garden Plan: Step-by-Step for a Productive Growing Season
A suburban survival garden is designed to make the most of every square foot, whether you have a backyard, a small side yard, a deck, or even just a sunny porch. With creative planning, you can grow a surprising amount of food in limited space throughout the spring, summer, and fall. Here’s an expanded plan with extra strategies, tips, and space-maximizing ideas:
Step 1: Choose High-Yield, Nutritious Crops
- Prioritize staple vegetables and calorie-dense crops: potatoes, sweet potatoes, bush beans, pole beans, peas, carrots, beets, onions, garlic, cabbage, kale, Swiss chard, tomatoes, peppers, summer and winter squash, cucumbers, and corn (if space allows). Choose compact or “patio” varieties for containers and small beds.
- Add quick-growing greens: spinach, lettuce, arugula, radishes, Asian greens, and microgreens. These can be sown in succession for continuous harvests, and many will grow well in containers or window boxes.
- Include perennial and container-friendly herbs: chives, oregano, sage, thyme, rosemary, mint, and basil. Herbs thrive in pots on decks, porches, or even railings.
- For extra calories and storage crops, try growing dwarf fruit trees in large pots or berries (like strawberries in hanging baskets, blueberries in tubs, or raspberries in a sunny corner).
Step 2: Map Out and Expand Your Growing Spaces
- Don’t limit yourself to just ground-level beds. Use raised beds, vertical gardens (trellises, wall planters, stacked pots), and hanging baskets to maximize growing area. Vertical netting or cattle panels can train cucumbers, beans, and squash upward, freeing up ground space for smaller crops.
- Plan your layout for available sun: put tall crops (corn, pole beans, trellised cucumbers) on the north side, shorter crops (lettuce, carrots, radishes) in front. Use fences, walls, and railings for climbing or vining plants.
- Incorporate container gardens on patios, decks, porches, and even driveways. Large pots or grow bags can host tomatoes, peppers, potatoes, or even dwarf fruit trees. Small pots and railing planters are perfect for salad greens and herbs.
- Try a “salad table” or DIY vertical garden made from pallets for porches or balconies. Window boxes can provide cut-and-come-again greens.
- Use succession planting: after harvesting early crops like radishes or lettuce, replant the space with beans, turnips, or late-season greens. Overlap crops so something is always growing.
Step 3: Prepare the Soil Early and Use Smart Amendments
- In early spring, clear weeds or grass wherever you’ll be growing. Fill raised beds, containers, and grow bags with a high-quality mix of compost, topsoil, and organic matter. For in-ground plots, add 2-4 inches of compost or well-rotted manure and fork it in.
- Use mulch (straw, wood chips, shredded leaves, or even cardboard) around all plantings and on paths to suppress weeds, retain moisture, and stabilize soil temperatures.
- For container gardens, use a slow-release organic fertilizer and refresh the top few inches of soil each season.
- If you’re short on space or your soil is poor, focus on growing leafy greens in containers, vertical systems, or even hydroponic setups.
Step 4: Start Seeds Indoors & Direct Sow
- 6-8 weeks before your last frost: start tomatoes, peppers, eggplant, and cabbage indoors. Use shelves or racks on sunny windows, or invest in a simple grow-light setup.
- 2-4 weeks before last frost: direct sow cold-hardy crops such as peas, carrots, beets, onions, spinach, and radishes outdoors, including in containers on your deck or porch.
- After the last frost, transplant seedlings and direct-sow beans, squash, cucumbers, corn, and sunflowers. Use vertical supports to train vines upward.
- For a continual harvest, sow salad greens, radishes, and herbs in small batches every 2–3 weeks.
Step 5: Maintain, Maximize, & Succession Plant
- Water deeply 1-2 times per week, using soaker hoses or drip irrigation if possible, to maximize efficiency—especially if you have a busy suburban schedule or water restrictions. Self-watering containers are excellent for decks and small spaces.
- Mulch beds and containers to retain moisture and reduce watering needs.
- As you harvest quick crops (like lettuce, spinach, or radishes), immediately replant the spaces with another crop to double your yield from the same area. Grow heat-tolerant greens in summer and switch to cool crops for fall.
- For pest management, use row covers, netting, or even repurposed laundry baskets over small plants. Encourage pollinators and beneficial insects by planting flowers and herbs nearby.
Step 6: Harvest & Preserve
- Harvest often and at the right stage: pick beans and zucchini while small for best flavor and more production. Cut leaf lettuce or greens with scissors for regrowth.
- Use succession and interplanting: tuck fast crops between slow-growing ones for more food per square foot.
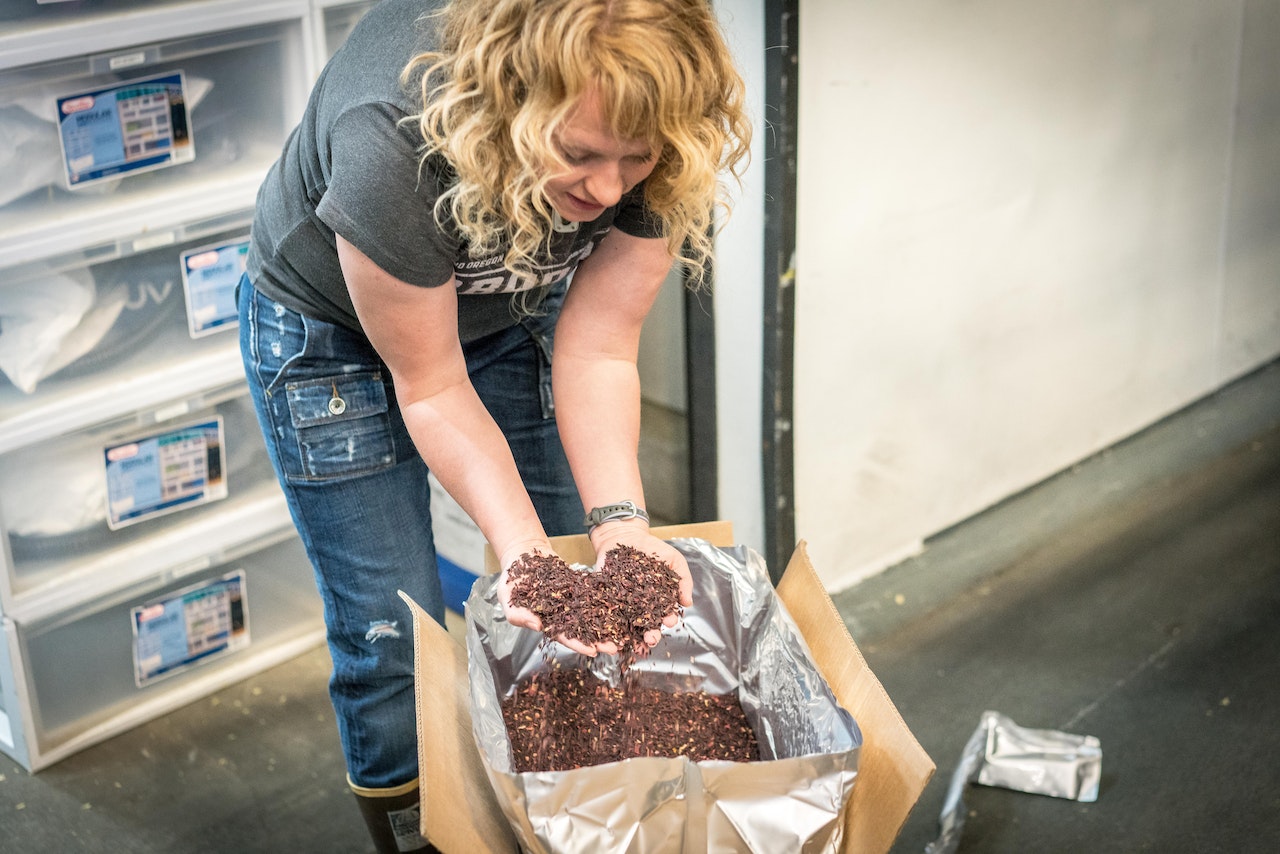
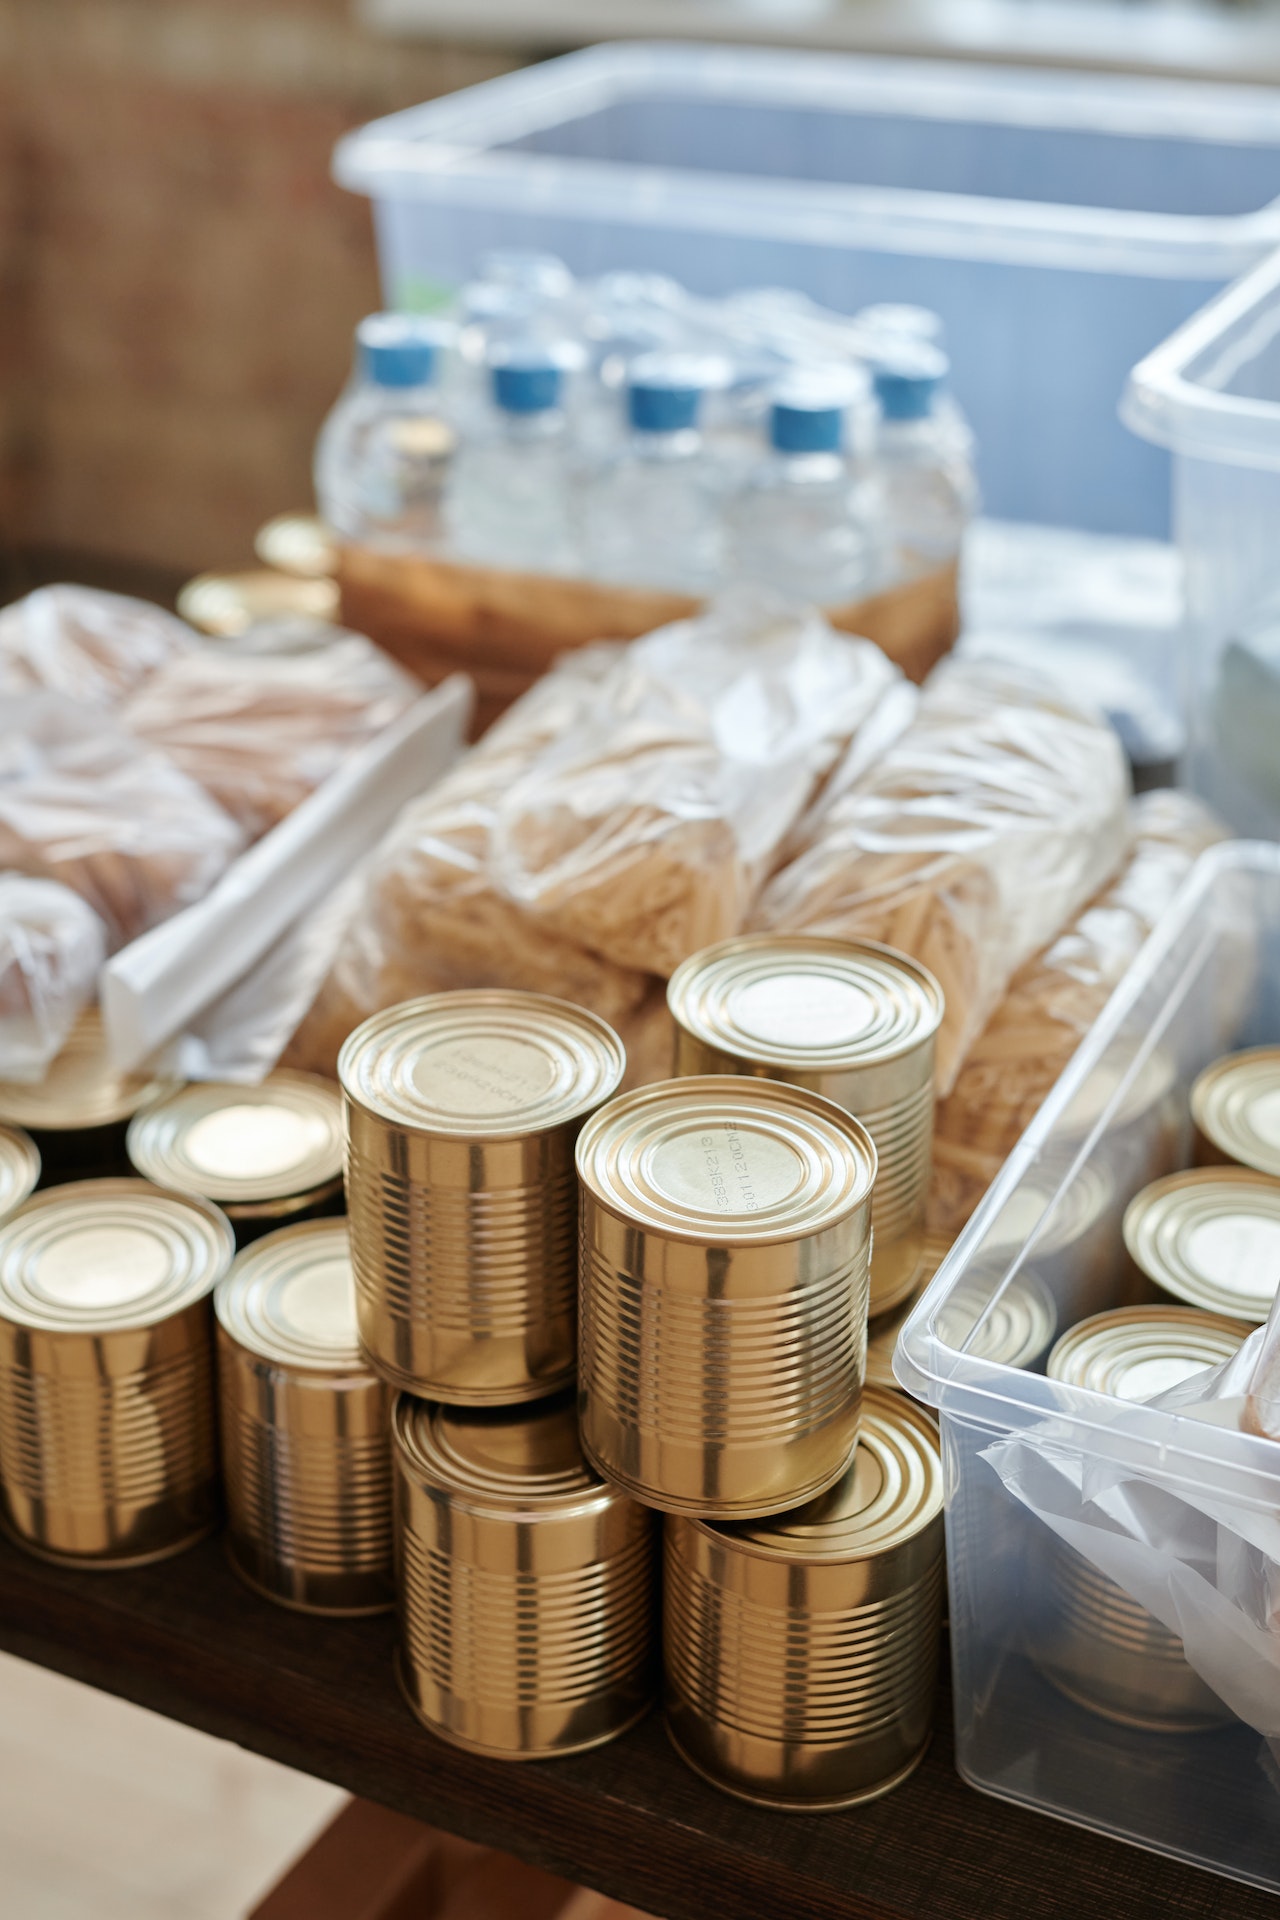
- Preserve your surplus: freeze, can, or dehydrate beans, tomatoes, peppers, greens, and herbs—even a small garden can yield plenty over a season. Use your garage, basement, pantry, or even under-bed storage for preserved food.
- Try fermenting (like sauerkraut or pickles) to extend your harvest.
Step 7: Prepare for Fall & Next Spring
- In late summer, sow fall crops (kale, spinach, radishes, Asian greens) in containers, beds, or any open patches for late harvests.
- After the final harvest, plant cover crops (like clover or rye) in beds, or add a thick layer of mulch to protect and enrich the soil over winter. Refresh container soil and compost spent plants.
This plan is designed for the realities of suburban gardening—limited space, possible shade from neighboring homes, and the need to balance beauty with productivity. By growing vertically, using containers and unusual spaces, succession planting, and preserving your harvest, you can dramatically increase the food output of even a modest suburban lot, deck, or porch.
By applying these steps in a thoughtful sequence, even a modest suburban yard can become a reliable source of fresh, nutritious food and greater self-sufficiency, season after season. This flow ensures your gardening journey is practical, organized, and rewarding from start to finish.